Android Native Client
How Can We Help?
The following directions will only work for OCcloud9 customers. This setup is designed for personal Android phones or tablets. Public Android phones and tablets should connect using the Outlook Web Portal.
Mail Setup for Android Devices:
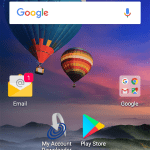
- Tap on the “Apps” icon
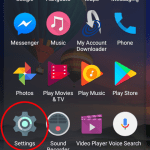
- Tap on the “Settings” icon
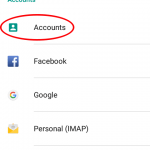
- Scroll to and tap on “Accounts” in settings.
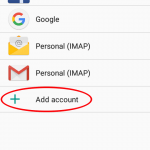
- Tap on “Add Account” (Usually at the bottom of the list)
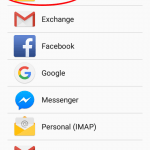
- Tap on Exchange. (May also be shown as “Active Sync” or “Cooperate”)
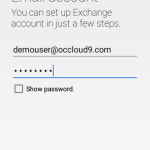
- Enter your email address and password and tap “Next.”
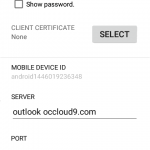
- If auto-discover fails, adjust the following settings and tap Next:
- Server: outlook.occloud9.com
- User Name: Your email address
(Note in some cases you may need to preference your email address with a backslash “\” in the user name field)
- If auto-discover fails, adjust the following settings and tap Next:
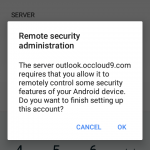
- Tap on OK.
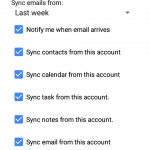
- You will now be presented with your “Account options.” Everything will be selected. You can simply tap on “Next,” or you can deselect the options you’d like and then tap “Next.”
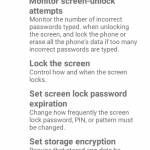
- Tap Authorize. (You must agree to this or you will not receive emails)
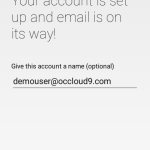
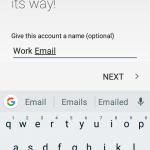
- The final page will say “Your account is set up and email is on its way!” It will now as you to give your account a name. You can either keep the default (which will be your email address,” or you can rename it “Exchange,” “Work,” or anything else you’d like. Once you’ve done that, tap “Next.”
- Setup is now complete. You are finished and can now open the email app to see email start to come in.
7. If autodisocover fails enter the information as above. (Note in some cases you may need to preference your email address with a backslash "\" in the user name field)
The screenshots shown are from an Android 6 device and will be similar for subsequent versions of Android.

